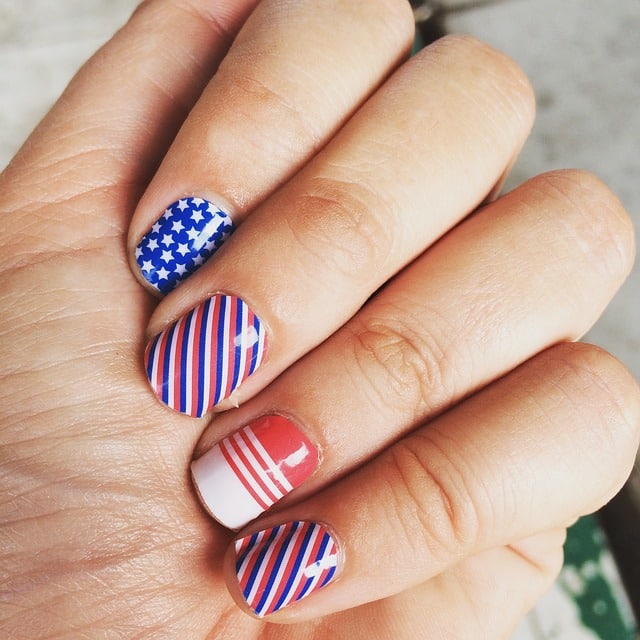
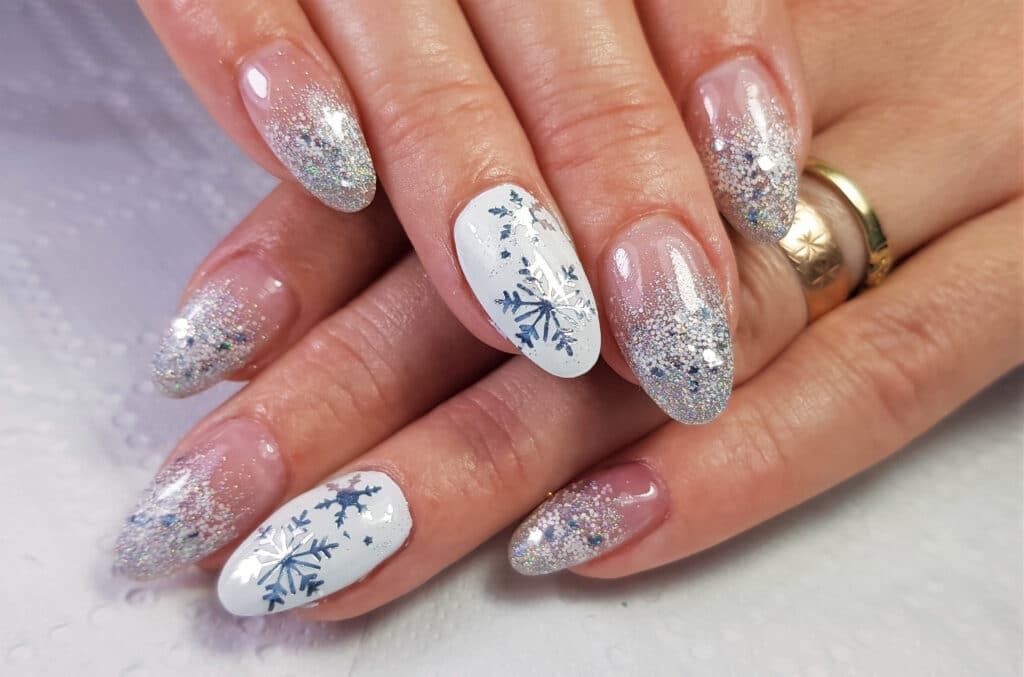
Hey there! Want to add a little pizazz to your nails? Check out these 3 easy nail art tutorials!
You’ll learn how to create floral designs, geometric patterns, and stunning ombre nails. With just a few simple supplies and some creativity, you can elevate your manicure game in no time.
Whether you’re getting ready for a special occasion or just want to treat yourself to a fun DIY project, these tutorials are perfect for adding a personal touch to your nails.
So grab your favorite nail polish and let’s get started!
Supplies You’ll Need
You’ll want to gather the essential tools, such as dotting tools and nail art brushes, to create your designs.
Consider the wide range of nail polish color options available to match your style and mood.
Additionally, think about adding extra embellishments like rhinestones or studs for a unique touch to your nails.
Essential Nail Art Tools
To create stunning nail designs, you need a few essential tools and supplies. Here are the key items you’ll need for your toolkit: If you are more interested in acrylic nails, then try this video on Acrylic Nail Art.
- Nail Brushes: Invest in a variety of nail brushes to execute different nail art techniques. A fine-tipped brush is perfect for intricate details, while a flat brush is ideal for broader strokes.
- Striping Brushes: These brushes are perfect for creating detailed lines and intricate designs on your nails.
- Striping Tape: This thin, adhesive tape helps create clean lines and geometric patterns with ease.
With these essential nail tools, you’ll be well-equipped to try out simple techniques and follow step-by-step tutorials to create stunning nail art designs.
Nail Polish Color Options
Exploring a diverse range of nail polish colors is essential for creating eye-catching nail art designs. To begin, a neutral base coat sets the stage for any design. Consider investing in white nail polish as it serves as a versatile base for simple nail designs and allows bright colors to pop.
Regular nail polish offers a wide array of shades, making it perfect for experimenting with various nail art designs. Opt for bright colors to add a playful touch to your nails. Whether you prefer creating intricate designs or visiting nail salons for professional art, having a varied nail color collection is crucial.
With these options at your disposal, you’ll be well-equipped to express your creativity through stunning nail art.
Additional Embellishments for Nails
Consider adding embellishments to your designs to take them to the next level. Here are a few additional supplies you might want to have on hand to enhance your nail art:
- Striping Tape: This thin, adhesive tape is perfect for creating clean lines and geometric designs on your nails.
- Glitter: Add some sparkle to your nail designs with loose glitter or glitter nail polish. It’s great for creating dazzling, eye-catching nails.
- Nail Decals: From intricate floral designs to cute little characters, nail decals are an easy way to add detailed artwork to your nails without having to paint it on yourself.
These additional embellishments can elevate your nail art to new heights, allowing you to explore endless creative possibilities.
Tutorial 1: Floral Nail Art
So, let’s talk about the color selection for your floral nail art.
You’ll want to choose colors that complement each other and give a vibrant, natural look.
Think about the colors of real flowers and how they blend in nature.
Color Selection for Flowers
To achieve vibrant floral nail art, start by picking out colors that will complement each other. Consider using pastel shades for a soft and feminine look. Experiment with different colors of nail polish to create fun patterns and designs. For a French manicure twist, use light pink or nude as the base color. When applying the colors, use a nail polish brush with a fine tip to create intricate details. Nail artists can find a variety of nail polish colors and tools through affiliate links to create their cute designs.
Tutorial 2: Geometric Designs
Let’s create some stylish geometric nail art designs with easy-to-follow tutorials.
You can learn how to master triangle designs and elevate your nail game.
Get ready to rock some chic and modern geometric nail art.
Triangle Nail Art Tutorial
Start by gathering three nail polish colors and some striping tape to create a stylish triangle nail art design. First, apply a base coat of your chosen nail polish color and let it dry completely.
Next, use the striping tape to create triangle shapes on your nails. Then, fill in the triangles with your selected colors using a detailer brush. Start with the lightest color as the base, then add the darker shades on top. For example, use light purple as the base, followed by darker shades of purple and black for contrast.
Finish with a top coat to seal in your design and add shine. With these simple steps, you can achieve a chic and modern geometric nail art look.
- Gather three nail polish colors and striping tape.
- Create triangle shapes using striping tape.
- Fill in triangles with selected colors using a detailer brush.
Tutorial 3: Ombre Nails
Ready to master the art of ombre nails? Learn how to effortlessly blend nail polish colors to create a seamless gradient effect. With these simple techniques, you’ll be able to achieve stunning ombre nails that will elevate your manicure game. Let’s get started!
Blending Nail Polish Colors
Once you have gathered your chosen nail polish colors, you can create a beautiful ombre effect on your nails. To achieve stunning ombre nails, follow these simple steps:
- Choose Your Colors: Select two or three shades of nail polish that complement each other well for a seamless transition.
- Apply the Base Color: Start with the lightest shade as the base color and apply it to your nails.
- Blend the Colors: Using a makeup sponge, dab the shades of nail polish onto the sponge and gently press it onto your nails in a stippling motion to blend the colors seamlessly.
Creating ombre nails is a great way to elevate your basic nail designs and add a touch of elegance to your natural or shorter nails using different shades of nail polish.
Tips for a Long-Lasting Manicure
If you want your manicure to last, start with the right nail prep essentials.
Before applying polish, make sure your nails are clean and dry.
This will help your nail art look fresh and flawless for longer.
Nail Prep Essentials
To achieve a long-lasting manicure, start by thoroughly cleaning your nails with a gentle nail polish remover. This will help remove any oils or residue that could prevent your nail polish from adhering properly.
Next, gently push back your cuticles using a cuticle pusher to create a clean canvas for your manicure.
Finally, apply a base coat to protect your nails from staining and to help your nail color adhere better. This step is crucial, especially when using bold colors like the nail color in raw cocoa or gel polishes.
Ensuring your nails are properly prepped will also help extend the lifespan of your nail art, whether you’re using nail strips, nail tapes, or painting intricate designs.
Intimate care for your nails is essential for a flawless, long-lasting manicure.
Frequently Asked Questions for Easy Nail Art Tutorials!
How Can I Prevent My Nails From Chipping After Applying the Nail Art?
To prevent your nails from chipping after applying nail art, consider using a high-quality base coat and top coat. Apply thin layers and seal the edges of your nails for longer-lasting results. Avoid using your nails as tools to prevent chipping.
Are There Any Alternative Tools or Supplies I Can Use if I Don’t Have the Ones Listed?
If you don’t have the listed tools, try using household items like toothpicks, bobby pins, or tape as alternatives. These can help you achieve different nail art effects without needing to purchase specialized supplies.
What Are Some Common Mistakes to Avoid When Trying These Nail Art Tutorials?
When trying these nail art tutorials, avoid common mistakes like rushing through steps, using too much polish, and skipping the base coat. It’s like painting a masterpiece; take your time and lay the groundwork for flawless results.
Can These Nail Art Designs Be Done on Short Nails or Only on Longer Nails?
Yes, you can do these nail art designs on short nails. Plenty of creative and stylish options work well on shorter nails, so don’t worry about the length. Just give it a try!
Are There Any Specific Nail Polish Brands or Colors That Work Best for These Tutorials?
You’ll find that specific nail polish brands like OPI, Essie, and Sally Hansen work best for these tutorials. Bright, bold colors like red, turquoise, and hot pink will make your nail art designs pop and stand out.
Conclusion
Now that you have learned these easy nail art tutorials, you can create beautiful designs at home with just a few supplies.
Did you know that the nail industry is worth over $8 billion worldwide? With the right techniques and creativity, you can save money by doing your own nails and join the millions of people who enjoy expressing themselves through unique manicures.
Get creative and have fun with your nails!


